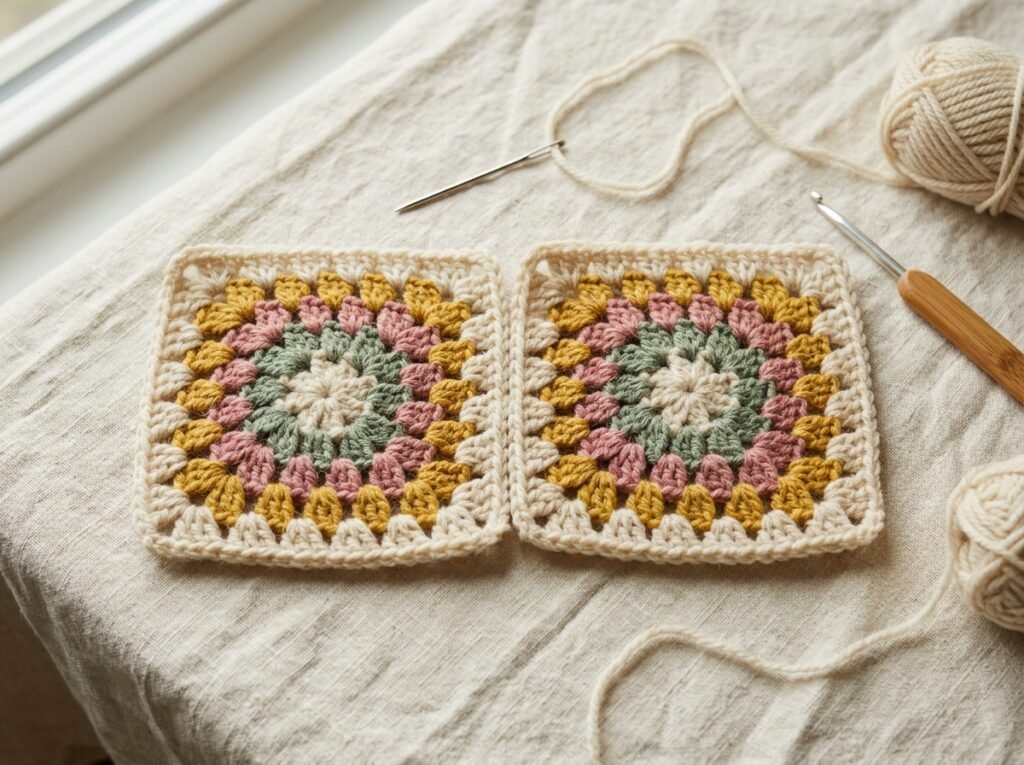
Joining granny squares is the step that turns individual motifs into a blanket, cushion cover, or bag. The best method depends on whether you want a visible ridge, a flatter seam, or a decorative border. Before joining, make sure the squares are similar in size and that their edges are finished consistently.
Before you join: prepare the squares
- Weave in loose ends so they do not become trapped awkwardly in a seam
- Lay the squares out in the final colour order and take a photo
- Measure the squares and block them to a consistent size if needed
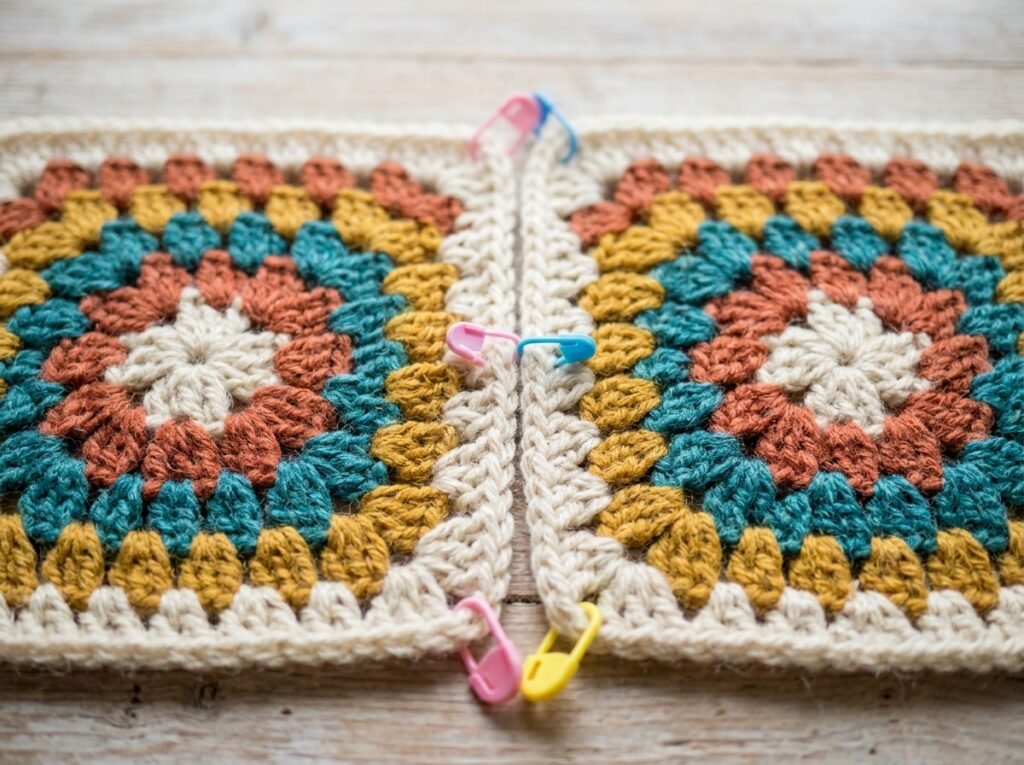
- Use removable markers to match corners and side centres
Method 1: Whip stitch
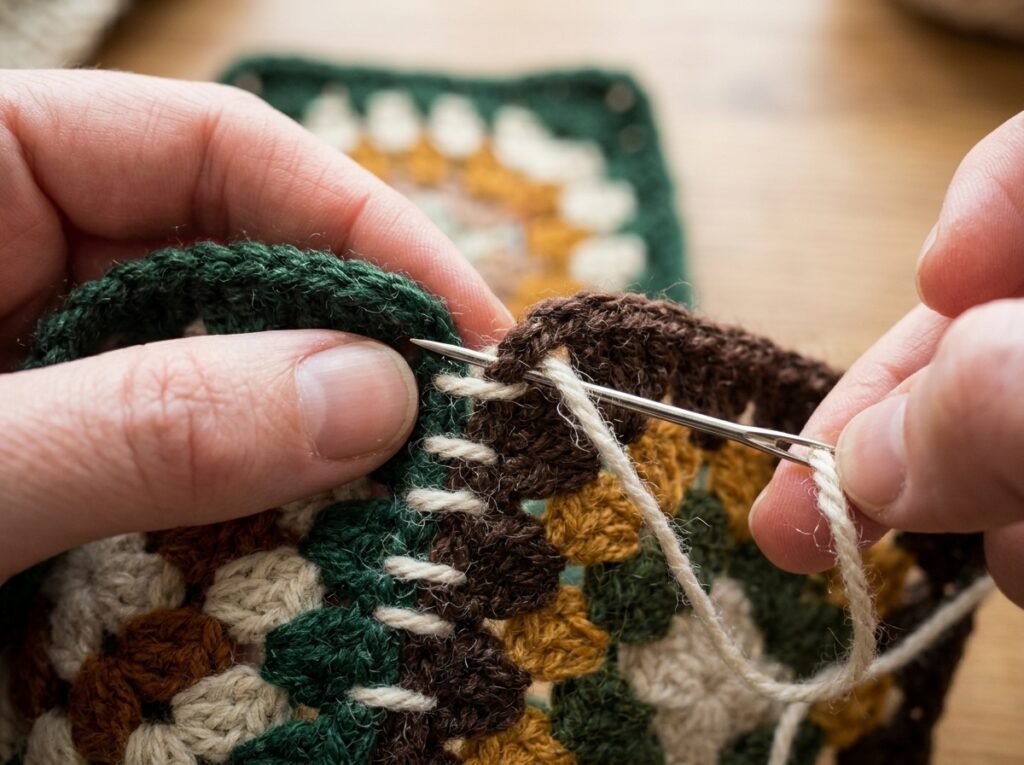
Place two squares with their edges aligned. Using a yarn needle and a length of yarn, pass the needle through matching edge loops from one square to the other, repeating along the seam. Keep the stitches even and avoid pulling so tightly that the edge gathers. Whip stitch can create a visible seam, especially when you use a contrasting yarn.
Method 2: Mattress stitch
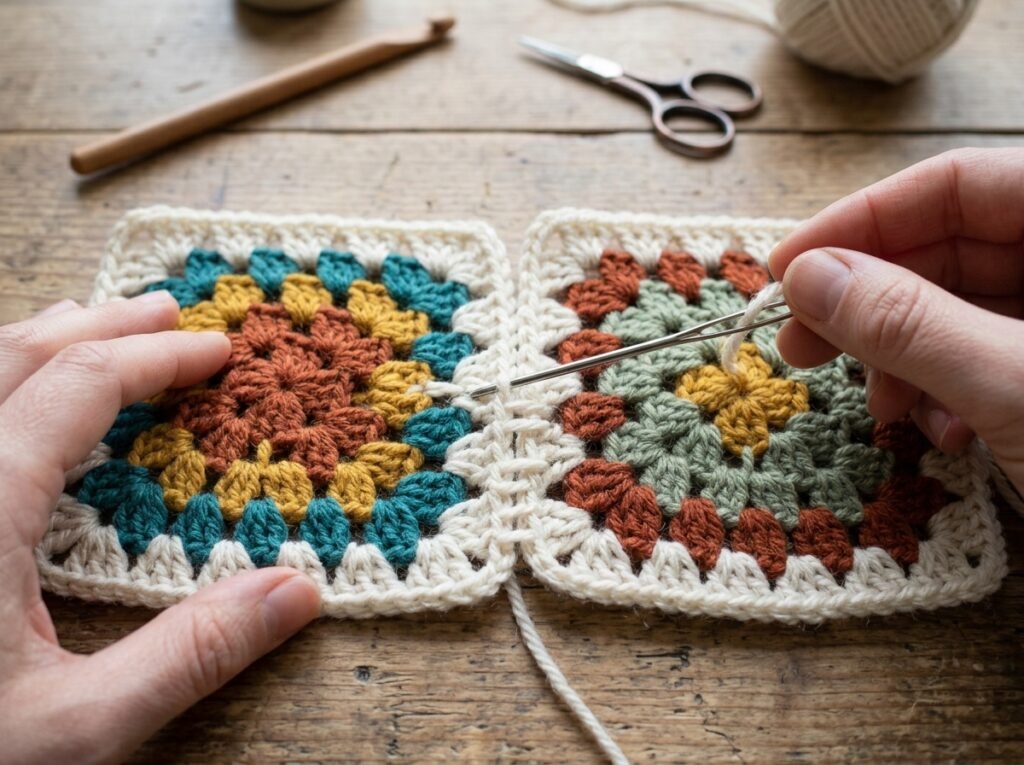
Mattress stitch is sewn with the right sides facing up or with the edges positioned as your pattern recommends. Pick up corresponding bars or loops along the edge, alternating from one square to the other. Pull the yarn gently every few stitches to bring the edges together. This method can make a relatively neat seam when the edges match.
Method 3: Slip-stitch join
Align two squares with the sides together as directed by your pattern. Insert the hook through corresponding edge loops, yarn over, and draw through to make a slip stitch. Continue along the seam without pulling the yarn too tightly. This can create a defined ridge, which may be a decorative feature in the finished fabric.
Method 4: Join as you go
Some granny-square patterns let you attach a new square while working its final round. At designated chain spaces or corners, replace part of the normal corner sequence with a join to the completed square. This avoids sewing a large number of seams at the end, but it requires a pattern that specifies where and how to join.
Which joining method should you choose?
Choose whip stitch if you want a straightforward sewn seam; mattress stitch if you prefer a less prominent sewn join; slip stitch if you like a visible crocheted ridge; or join-as-you-go if your pattern is designed for it. Make a short test seam first because yarn colour, edge loops, and tension affect the result.
How to keep the blanket flat
- Match the number of stitches along each side
- Pin or clip corners and side centres before joining
- Use the same tension throughout the seam
- Avoid stretching one square to fit a smaller one
- Lay the joined fabric flat after every few seams to check for puckering
Adding a border after joining
Once the motifs are joined, work a border around the outside edge if your design calls for one. Place stitches evenly along the sides and add enough stitches at corners to help the blanket lie flat. If the edge waves, there may be too many stitches; if it cups, there may be too few. Test the first round and adjust according to the pattern.
Frequently asked questions
Which granny-square join is the strongest?
A secure sewn seam or a carefully worked crochet join can both be durable. Strength depends on the yarn, how the loops are caught, and how securely the ends are finished.
Should I block granny squares before joining?
Blocking can help squares match in size and make the joins easier. Check the fibre’s care instructions and test the method on a sample first.
Can I use a contrasting colour for the seam?
Yes. A contrasting join can become part of the design, while a matching yarn makes the seam less noticeable. Make a small test before joining the whole project.
Browse the free crochet pattern library for your next project and visit Crochet Tutorials & Guides for more practical lessons.