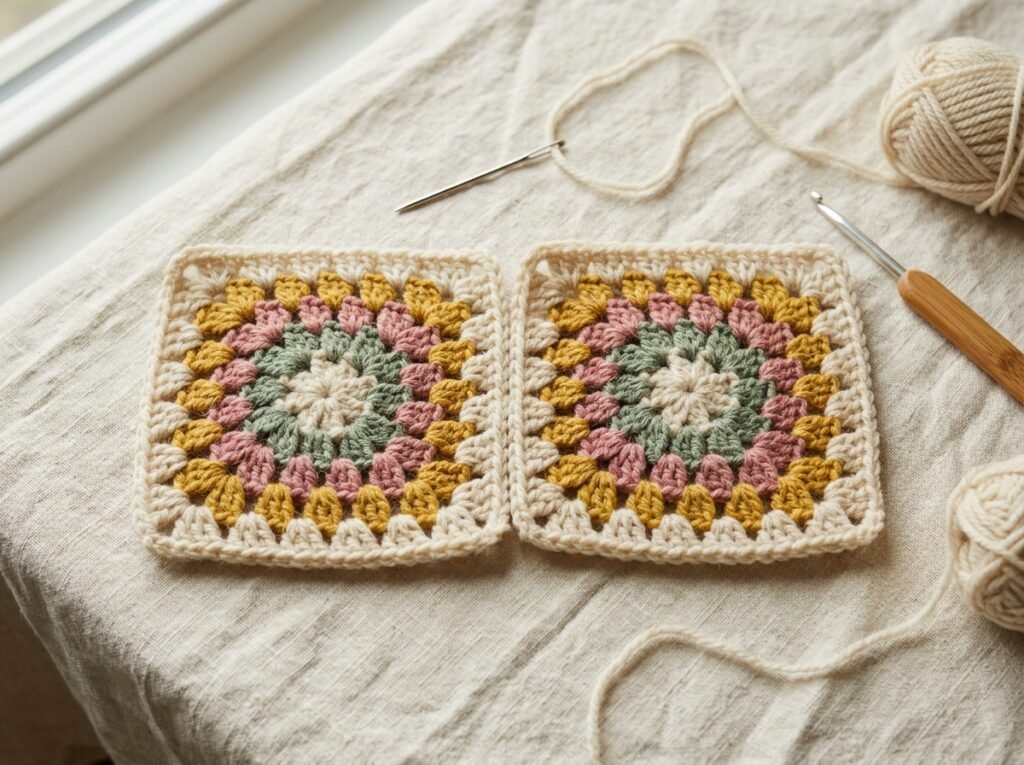

A granny square is a versatile crochet motif that can become a blanket, cushion cover, bag, or colourful patchwork accessory. The classic version uses groups of double crochet stitches separated by chain spaces, with increases at the corners to keep the square flat. This tutorial uses US crochet terminology.
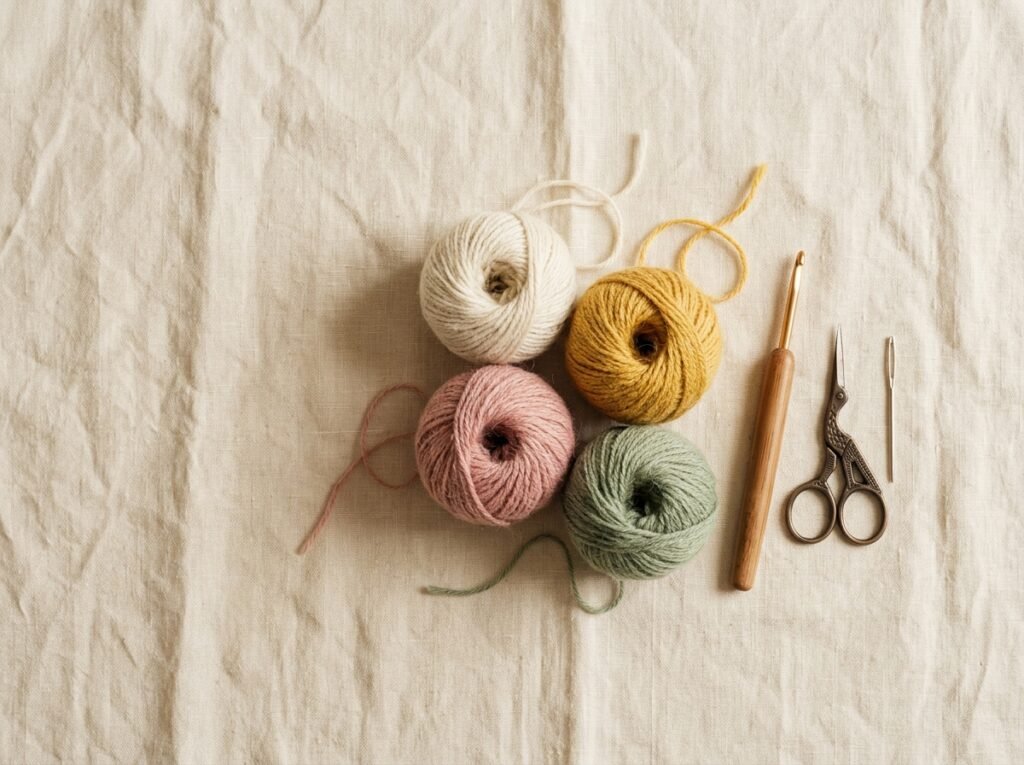
Materials
- Smooth yarn in one or more colours
- A crochet hook suitable for the yarn
- Scissors and a yarn needle
- A stitch marker to mark the beginning of a round, if helpful
Understand the basic granny-square cluster
A classic cluster is usually made from three double crochet stitches worked into the same space. Chain spaces separate the clusters. At each corner, extra chain stitches create room for the square to turn. Different patterns vary, so follow one set of instructions consistently rather than mixing corner counts from several tutorials.
Round 1: Make the centre
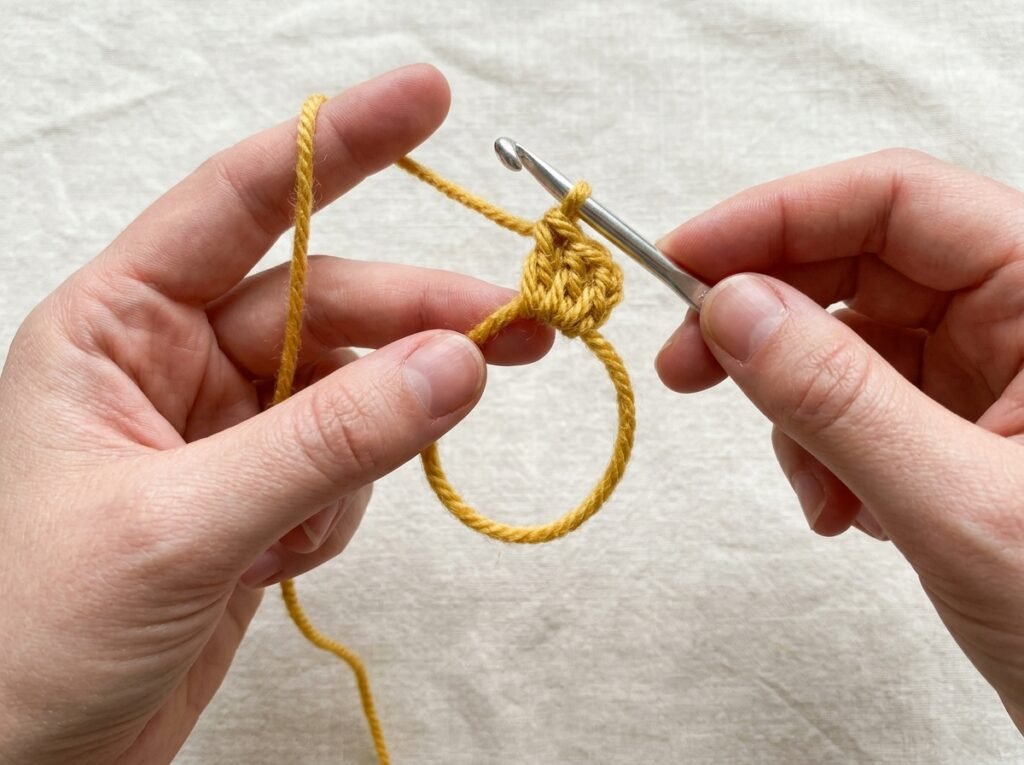
Make a slip knot and chain four, then join with a slip stitch to form a ring, or use the magic ring method if you already know it. Chain three to begin the round; many classic patterns count this as the first double crochet. Work two more double crochet stitches into the ring to complete the first cluster.
Chain two for a corner, then work three double crochet stitches into the ring again. Repeat the cluster and corner sequence until you have four clusters separated by four corner spaces. Join the round according to the pattern, keeping the centre ring snug but not so tight that the fabric puckers.
Round 2: Build the corners
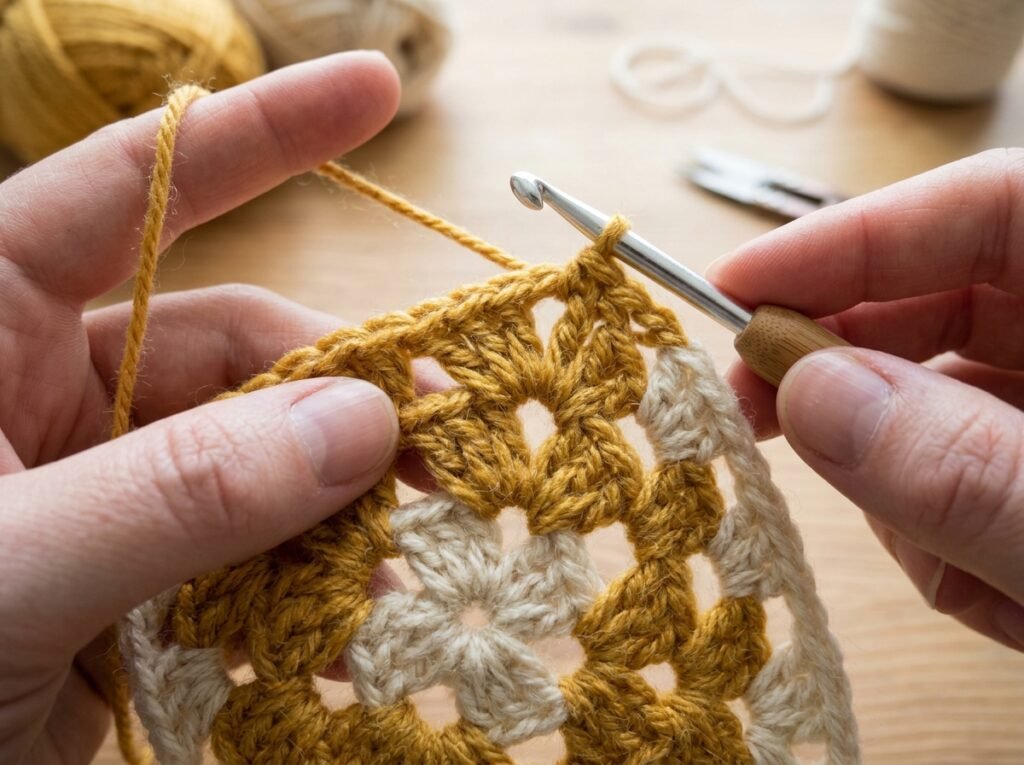
Move to a corner space. Work the pattern’s corner sequence into that space—commonly two clusters separated by a chain space—then chain across to the next corner. Each corner needs enough stitches and space to turn without pulling the square inward.
At the side spaces between corners, work the cluster specified by your pattern. The exact chain count in the corners can vary between classic granny-square styles, so keep the same method on all four sides.
Round 3 and later: Make the square larger
For each new round, work corner groups into the four corners and add clusters into the side spaces created on previous rounds. The sides grow longer with each round. Continue until the square reaches the size you need, measuring it flat rather than stretching it.
How to change colours neatly
Finish the final stitch of a round with the new colour if your pattern uses that method, then secure the old yarn and weave in its tail. Avoid carrying long floats across the back of a motif that will be visible. For a multicolour blanket, lay a few finished squares together before making the whole set to check the colour balance.
How to stop a granny square from curling
- Check that the corner spaces are not missing
- Avoid pulling the yarn too tightly at each join
- Count the clusters on each side to keep the square balanced
- Try a different hook size if your swatch is consistently too tight or too loose
A square that ripples may have too many stitches or loose tension; a square that cups may have too few stitches or tight tension. Make a small test square and adjust before committing to a large blanket.
Blocking and finishing
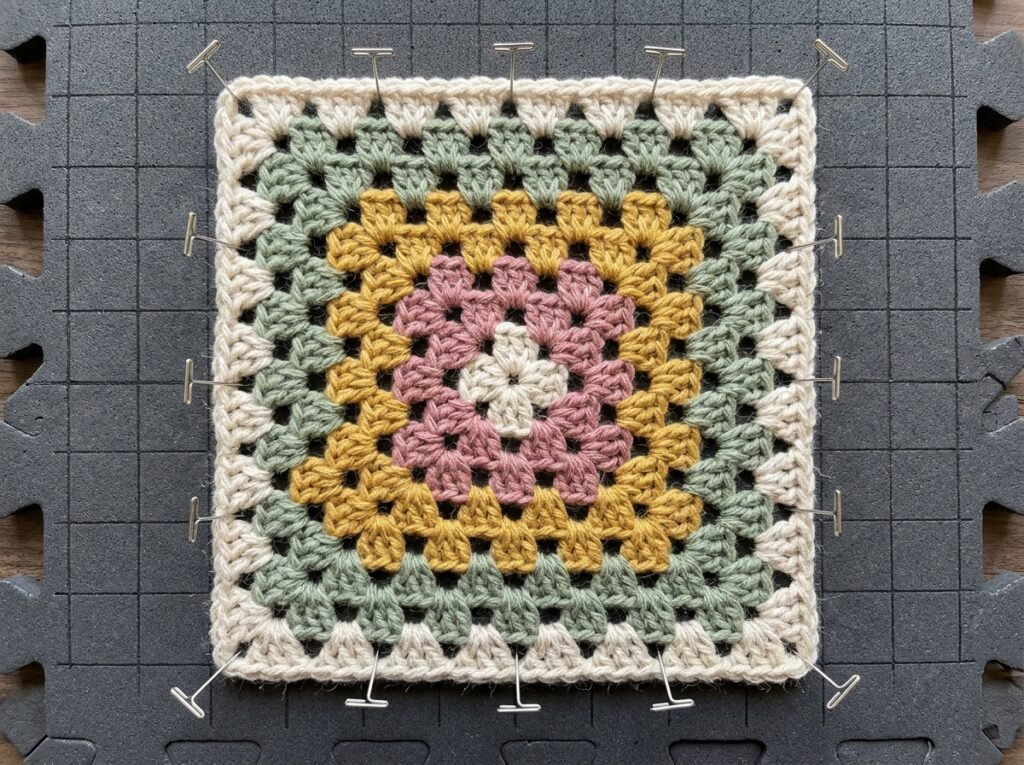
Fasten off and weave in the ends securely. If the yarn label permits it, gently wet or steam-block the square according to the fibre’s care instructions, then shape it to straight edges and let it dry fully. Test the method on a swatch first; heat can damage some fibres.
Frequently asked questions
How many rounds should a granny square have?
As many as needed for your planned size. Small squares can be joined into a larger blanket; larger squares reduce the number of joins.
Why are my granny-square corners rounded?
The corner space may be too small or the stitches may be too tight. Check the pattern’s corner sequence and keep the chain space loose enough for the square to turn.
Can beginners make a granny-square blanket?
Yes. Learn to make one consistent square first, then decide on size, colour order, joining method, and border. Repeating the same motif makes a large project manageable.
Find more inspiration in the free crochet pattern library and continue learning in Crochet Tutorials & Guides.