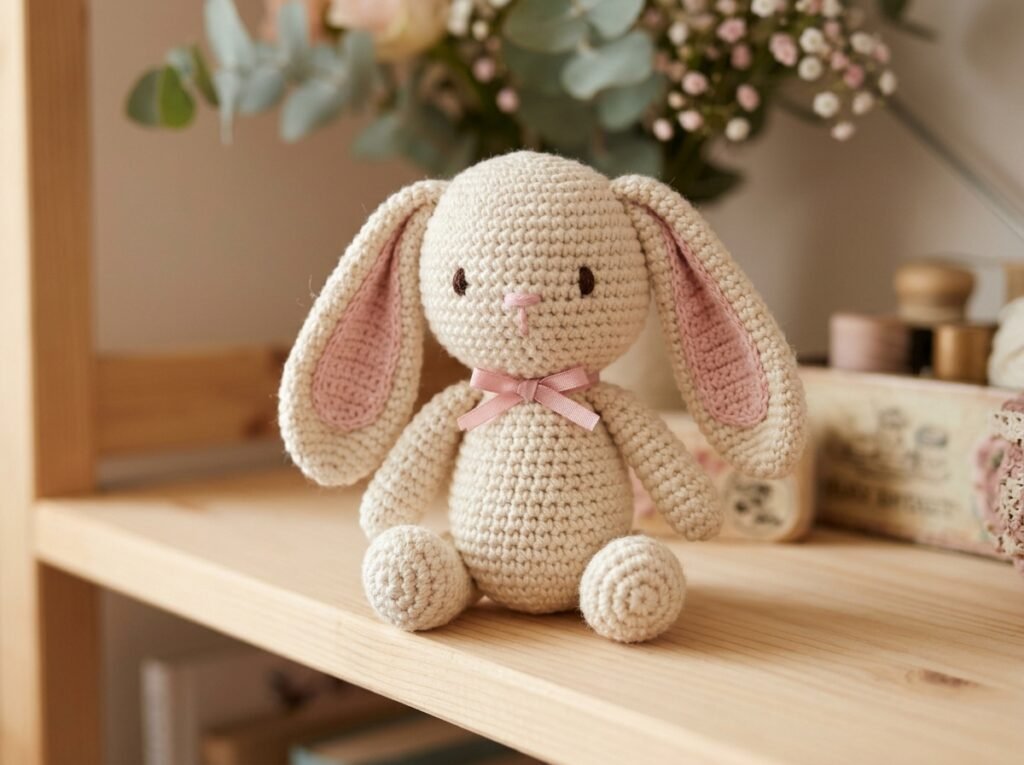
A crochet bunny is a lovely amigurumi project because its shape can be built from simple rounded pieces. This guide explains the workflow for a basic bunny—head, body, ears, arms, and feet—while reminding you to follow a specific pattern for exact stitch counts. It uses US crochet terminology.
Materials and safety
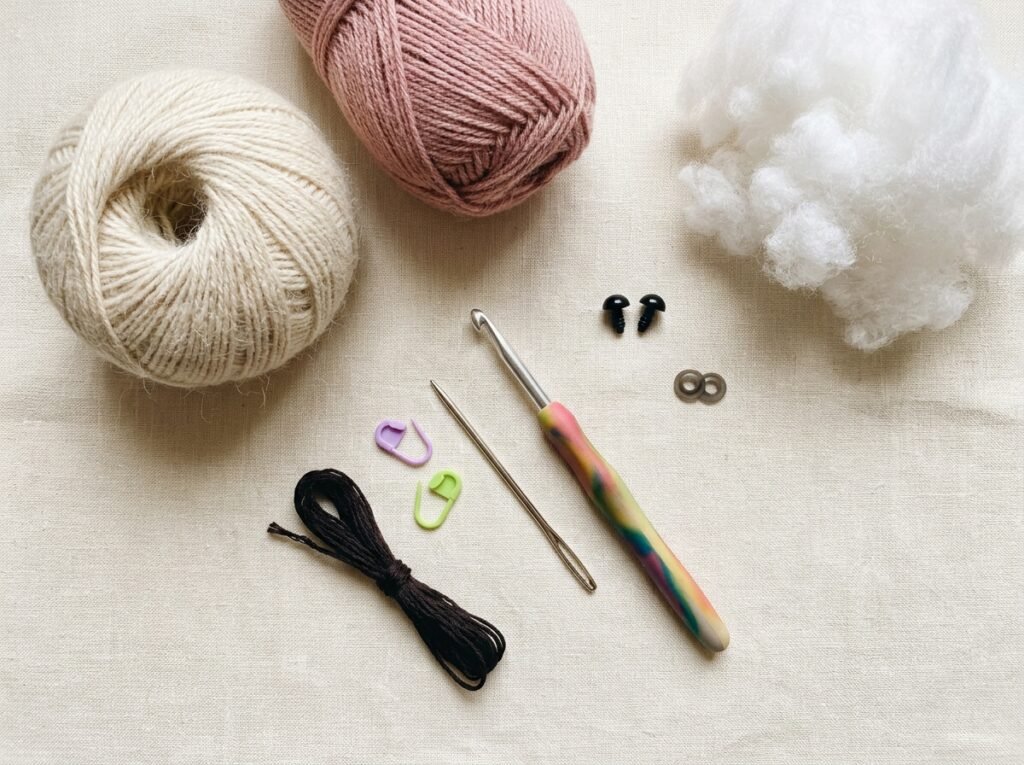
- Smooth yarn in a light or medium colour
- A crochet hook that makes a firm fabric with no visible stuffing gaps
- Stuffing suitable for toys
- Yarn needle, stitch markers, and scissors
- Optional safety eyes for toys intended for older children; embroidered features are preferable for babies and very young children
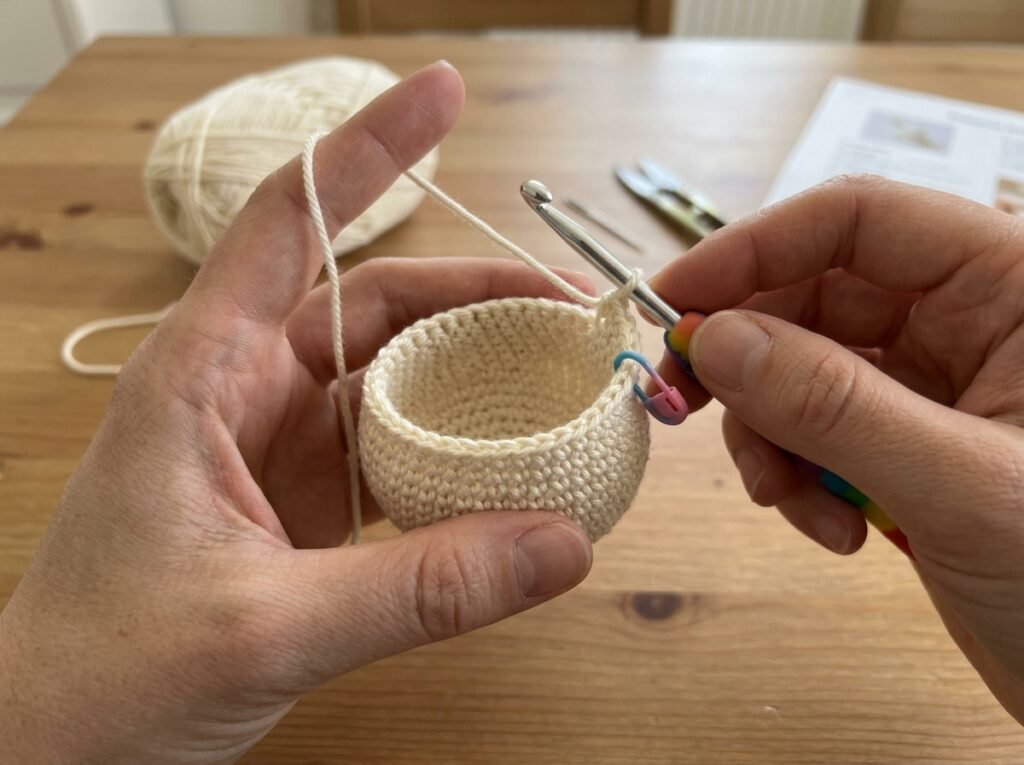
Amigurumi is usually worked in continuous rounds using single crochet. A hook smaller than the yarn label suggests may help create a dense fabric, but test a small sample. If gaps appear when you gently stretch the fabric, adjust the hook or tension before stuffing.
Step 1: Make a magic ring or adjustable centre
Many amigurumi pieces begin with a magic ring and several single crochet stitches worked into it. Pull the tail to close the centre, then place a marker in the first stitch of the round. If you prefer not to use a magic ring, follow a pattern that starts with a chain loop.
Step 2: Shape the head and body
A rounded head is commonly shaped by increasing stitches over several rounds, working even rounds to build height, then decreasing to close the shape. The body follows a similar principle, but the number and placement of increases determine the final silhouette. Use the stitch counts from a tested pattern rather than guessing the shaping.
Step 3: Crochet the ears
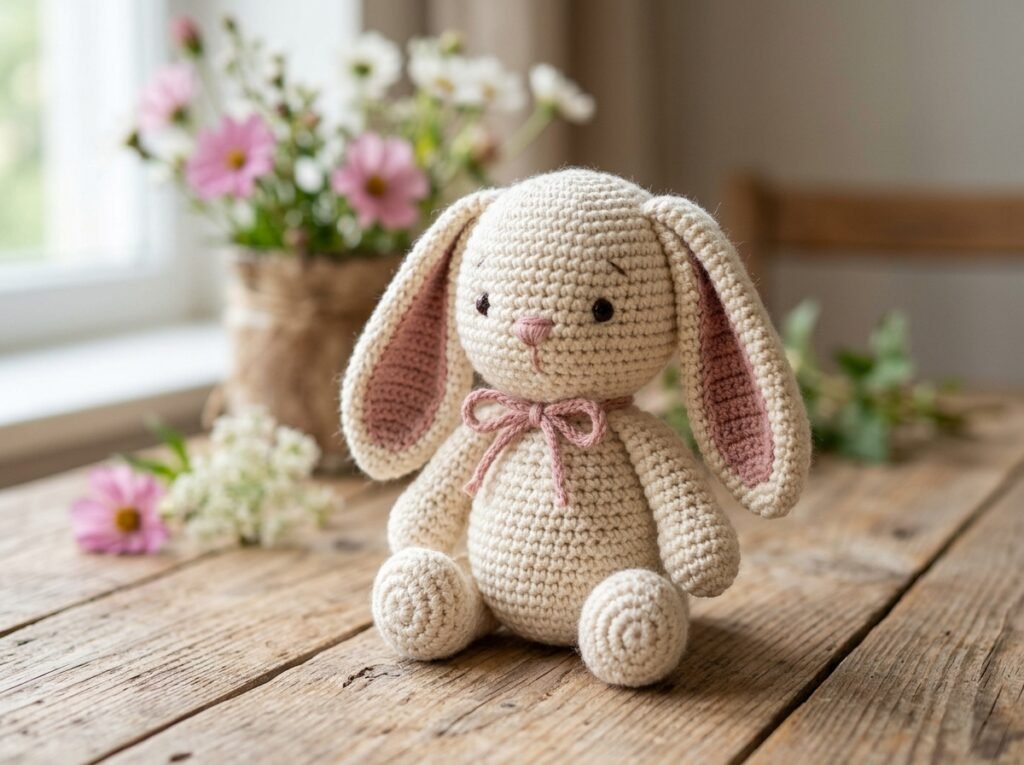
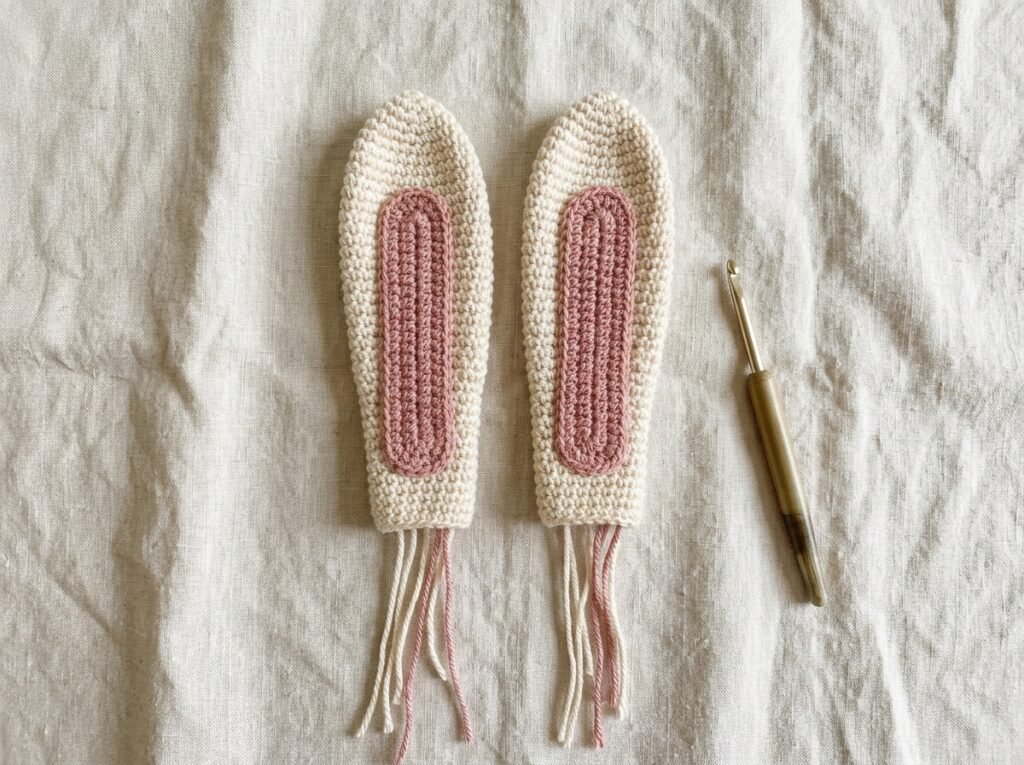
Bunny ears may be long and narrow or short and rounded, depending on the design. Work each ear as a separate piece, keep the tension consistent, and leave a long yarn tail for sewing. If you want a contrasting inner ear, embroider it or crochet a small panel and attach it securely.
Step 4: Make the arms and feet
Small limbs are usually narrow tubes or ovals. Stuff them lightly if the pattern calls for stuffing, leaving the sewing edge flexible. Lay both pieces beside each other before attaching them so their lengths and shapes match.
Step 5: Stuff gradually
Add small amounts of stuffing at a time and distribute it toward the edges with the blunt end of a tool. Avoid overfilling: the fabric should be firm enough to hold its shape but not stretched so much that the stitches open. Finish the final decreases according to the pattern.
Step 6: Assemble the bunny
Pin the pieces in place before sewing. Check the bunny from the front and side, then attach the head, ears, arms, and feet using the yarn tails. Take small, secure stitches through the fabric rather than sewing only through the surface loops. Recheck symmetry before fastening off.

Step 7: Add the face and finishing details
For a baby-safe toy, embroidered eyes and nose avoid the small detachable parts associated with safety eyes. Use yarn or embroidery thread that is securely anchored and weave the ends inside the toy. Do not leave loose loops, long tails, pins, or other detachable decorations.
Common problems
Stuffing shows through
Use a smaller hook, loosen your stuffing slightly, or check whether your tension is too loose. Fix gaps before completing the toy.
The head wobbles
The join may need more secure stitches or a firmer neck area. Pin the head in position and sew around the join more than once if the pattern calls for it.
The ears look uneven
Fold them together and compare their length before sewing. Pin them in place and check the toy from the front before securing the final stitches.
Frequently asked questions
Is amigurumi suitable for beginners?
A small toy can be beginner-friendly if the pattern explains increases, decreases, and assembly. Choose a pattern with a clear stitch count and avoid complicated colour changes for the first attempt.
Can I machine-wash an amigurumi toy?
Follow the yarn and stuffing care instructions. Some toys tolerate gentle washing, while others need spot cleaning. Test colourfastness and let the toy dry completely.
Are safety eyes safe for babies?
Safety eyes can detach if not fitted securely and are not appropriate for every age. For toys intended for babies and very young children, embroidered features and secure construction are generally the safer choice; follow applicable toy-safety guidance.
Explore more ideas in free crochet patterns and learn new techniques in Crochet Tutorials & Guides.